HP ProBook 450 G7 SSD Not Detected During Windows 11 Installation
Complete Step-by-Step Troubleshooting Guide

Few things are more frustrating than preparing everything correctly for a clean Windows installation, only to be stopped by the message: "We couldn't find any drives. To get a storage driver, click Load driver."
If you are installing Windows 11 on an HP ProBook 450 G7 and your internal SSD refuses to appear -- even after loading Intel RST drivers -- you are not alone. This guide walks through the entire troubleshooting journey, from BIOS checks to driver selection, firmware validation, and final hardware verification.
This is a complete, structured, practical walkthrough designed to help you solve the issue permanently and confidently.
Understanding the Real Problem
When Windows Setup cannot detect your internal SSD, the issue usually falls into one of four categories:
- Incorrect boot mode (Legacy vs UEFI)
- Missing or incorrect Intel RST / VMD driver
- BIOS configuration or firmware issue
- Hardware detection failure (SSD not recognised by firmware)
The HP ProBook 450 G7 adds an extra layer of complexity because its BIOS hides many traditional storage options such as AHCI or RAID mode. This often leads users to believe something is wrong with their USB or Windows installer, when in reality the issue lies deeper.
Step 1: Confirm You Are Booting in UEFI Mode
Windows 11 requires UEFI boot mode for installation on NVMe SSDs. If the system boots in Legacy mode (also known as CSM), the internal NVMe drive will not appear -- even if the correct driver is loaded.
How to Boot in UEFI Mode on HP ProBook 450 G7
- Power on the laptop.
- Press ESC repeatedly to open the Startup Menu.
- Press F9 for Boot Device Options.
- Select the USB entry that begins with UEFI:.
If you do not see a Legacy option anywhere in BIOS, that is fine. Many S71 BIOS versions automatically default to UEFI when using modern Windows installation media.
Step 2: Load the Correct Intel RST / VMD Driver
The HP ProBook 450 G7 uses Intel storage controllers that often require the Intel Rapid Storage Technology (RST) driver for Windows Setup to detect NVMe SSDs.
Correct Driver Selection
When loading drivers during Windows Setup, you may see multiple entries such as:
- Intel(R) Chipset SATA/PCIe RST Premium Controller
- Intel(R) NVMe Controller
For NVMe SSD installations, you must select:
Intel(R) NVMe Controller (iaStorAC.inf)
Do not select iaAHCIC.inf. That generic AHCI driver often causes the installer to freeze.
Important: Uncheck "Hide incompatible drivers"
Windows Setup sometimes hides the correct driver if this option is enabled. Always uncheck it before selecting the Intel NVMe driver.
Step 3: Proper USB Driver Folder Structure
Your USB must contain the driver in a clean, accessible structure. The safest layout looks like this:
USB:\ │ setup.exe │ bootmgr │ ... └── RST\ iaStorAC.inf iaStorAC.sys iaStorAC.cat
The driver folder should be placed at the root of the USB, not buried inside multiple subdirectories.
However, if the driver loads successfully and the SSD still does not appear, the issue is no longer the USB structure.
Step 4: Use DiskPart to Confirm True SSD Visibility
The Windows installer interface can sometimes be misleading. To confirm whether Windows can actually see your SSD:
- At the "Where do you want to install Windows?" screen, press Shift + F10.
- Type:
diskpart list disk
Possible Results
Result A: You see only a 14GB disk (your USB). This means Windows cannot detect the internal SSD at all.
Result B: You see Disk 0 with your SSD capacity. This means the SSD is visible but may need cleaning:
select disk 0 clean exit
Then refresh the installer window.
Critical Turning Point: If Only the USB Appears
If list disk shows only your USB drive and no internal storage, the issue is no longer related to:
- Driver selection
- USB formatting
- Windows 11 installer corruption
At this stage, we are dealing with a firmware-level or hardware-level problem.
Step 5: Check HP System Diagnostics
Before opening the laptop, confirm whether the BIOS itself can see the SSD.
How to Access HP Storage Diagnostics
- Power off the laptop.
- Power on and press ESC.
- Select F2 - System Diagnostics.
- Go to Component Tests → Storage.
Interpretation
- If the SSD appears here → firmware sees it.
- If no storage device appears → the system firmware cannot detect the SSD.
If the SSD does not appear in diagnostics, no driver in the world will fix the issue. Windows can only detect hardware that firmware exposes to it.
Step 6: Reseat the NVMe SSD
HP ProBook 450 G7 units, especially refurbished ones, often suffer from loosely seated NVMe drives.
Reseating Procedure
- Power off and unplug charger.
- Remove bottom cover.
- Locate the M.2 NVMe SSD.
- Unscrew it gently.
- Remove and reinsert firmly at a 30° angle.
- Screw it back in place.
- Reassemble and boot into BIOS.
After reseating, check F2 diagnostics again.
Step 7: Reset BIOS to Factory Defaults
Corrupted BIOS settings can prevent storage enumeration.
- Enter BIOS (ESC → F10).
- Select Apply Factory Defaults.
- Save and exit.
- Reboot and check storage detection again.
Step 8: Ensure BIOS Is Updated
Older BIOS versions (particularly pre-2023 firmware) may not properly expose NVMe drives to Windows 11 installers.
Check your BIOS version under the Main tab. Ensure you are running the latest available version for your system board revision.
If needed, update using:
- Update System BIOS → From USB
When It Is a Hardware Issue
If:
- The SSD does not appear in F2 diagnostics
- DiskPart only shows the USB
- BIOS is updated
- Drivers are correct
Then the likely causes are:
- Failed SSD
- Loose SSD
- Damaged M.2 slot
- SSD removed in refurbished unit
The definitive test is installing the SSD into another compatible machine or testing a known working NVMe SSD in the ProBook.
Common Myths Debunked
"Mixing Windows files and driver folder in USB root causes the problem"
False. As long as the driver loads correctly, folder placement is not the issue.
"Using a SanDisk USB causes drive detection failure"
False. Brand does not affect internal SSD visibility.
"Windows 11 installer is broken"
Rarely. In most cases, the firmware is not presenting the drive to Windows.
Alternative Path: Install Windows 10 First
In rare cases involving Intel VMD configurations, installing Windows 10 22H2 first can simplify detection. Once Windows 10 is running, you can upgrade to Windows 11.
Windows 10 handles certain storage controller scenarios more forgivingly during installation.
Final Diagnosis Flowchart
- Driver loads but no SSD appears → Check DiskPart
- DiskPart shows only USB → Check F2 diagnostics
- F2 shows no SSD → Reseat or replace SSD
- F2 shows SSD but installer does not → Clean disk via DiskPart
- Still failing → Update BIOS
Conclusion
When your HP ProBook 450 G7 SSD is not detected during Windows 11 installation, the solution is not guesswork. It is a structured elimination process.
Start with UEFI boot confirmation. Load the correct Intel NVMe driver. Verify with DiskPart. Confirm with HP diagnostics. Reseat hardware if necessary.
Most importantly, understand this:
Windows cannot install onto hardware that firmware does not expose.

Once you follow the steps in order, you remove uncertainty and move directly to the real cause.
For more advanced technical troubleshooting insights and structured diagnostic methods, explore additional system optimisation resources here:

Advanced Windows Installation and Storage Troubleshooting Guides


Recommended Affiliate Resources


You May Also Like

Will AI Replace Programmers?
The rise of artificial intelligence (AI) has many programmers asking a pressing question: "Will my job be…
Read More »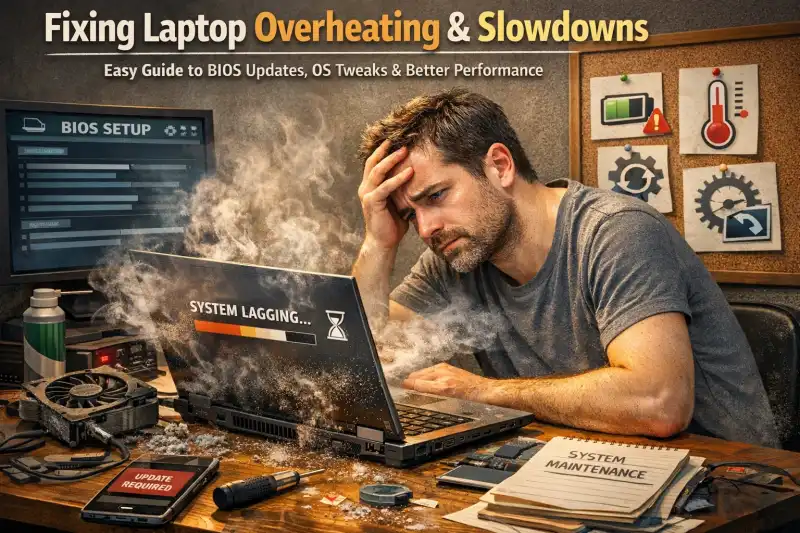
The Complete Guide to Laptop Overheating
Few things frustrate computer users more than a laptop that suddenly becomes hot, noisy, and painfully slow.…
Read More »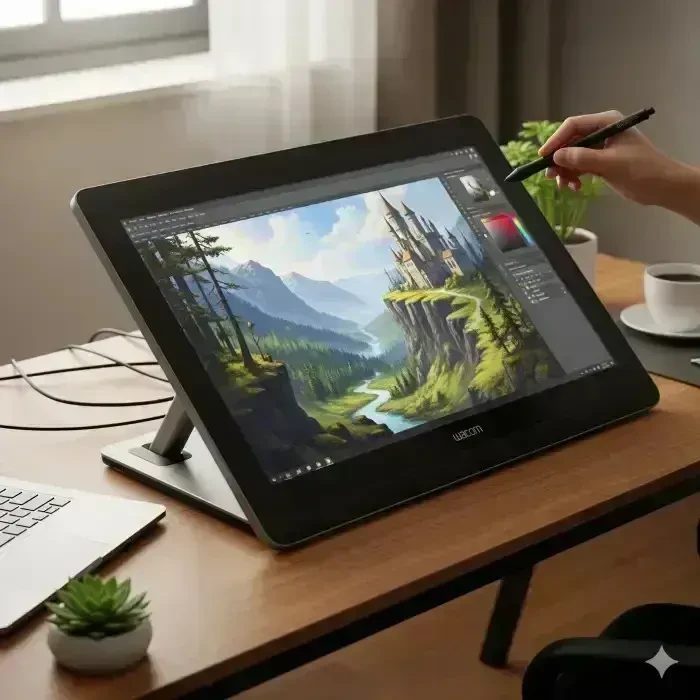
Best Creative Artist Companion: Wacom Cintiq Pro Series Review
Wacom Cintiq Pro Series Review Discover why the Wacom Cintiq Pro Series is the preferred choice for creative…
Read More »
Galaxy S25 FE Review: Why It’s the Perfect Smartphone
Discover why the Galaxy S25 FE is the perfect blend of premium features and budget-friendly pricing. In the…
Read More »
Why Won’t My PC Turn On? Fixes That Work
One moment, your desktop is humming along just fine; the next, the power button does absolutely nothing. No…
Read More »
How to Speed Up a Slow Desktop PC:
Picture this: you sit down at your desk, eager to dive into work or creativity, only to be greeted by a…
Read More »Traffic Coop Earnings
Ready to Monetise Your Traffic?
Stop letting your visitors slip away without value. With the LeadsLeap Co-op, you can turn every click into income. Join through my link below and I’ll personally share my tips for getting started fast.
Join My LeadsLeap Co-op Now
About the Author
Hello, I'm Patrick Wilson — an entrepreneur, artist, and storyteller driven by curiosity and passion. Through this blog, I explore and share meaningful content around a wide spectrum of lifestyle and success topics that matter to everyday people looking to live better, earn more, and grow intentionally.
From building a personal brand and making money online through proven digital strategies, to navigating the journey of personal finance and wealth-building — I bring real-world insights and tools to help you take control of your financial future.
I also document my pursuit of a healthy, balanced life — sharing inspiration around achieving fitness goals and living with purpose. As someone who appreciates both the aesthetic and the soulful, I dive deep into fine art, cultural history, and the enriching nuances of everyday lifestyle.
Whether I'm exploring breathtaking travel destinations across the globe or tending to the joys of home and garden, I aim to bring beauty, clarity, and useful ideas to every post.
If you're passionate about growth — financially, creatively, or personally — this blog is designed to inspire and support your journey.
Thanks for being here — let's grow together.